


Engage and Connect: A Comprehensive Guide to Building a Dynamic Customer Messaging App with Twilio and JavaScript


Embark on a transformative journey as you dive into the realms of code and communication. In this comprehensive guide, you'll harness the power of Twilio, JavaScript, and a fusion of cutting-edge technologies to construct an extraordinary messaging app. Step by step, you'll mold your digital masterpiece, crafting a dynamic interface that effortlessly connects you with your customer base. Unleash your creativity as you design an intuitive user interface, where messages flow seamlessly from your company to eager recipients. With the ability to send personalized messages at your fingertips, you'll witness your customer engagement soar to new heights. But it doesn't end there.
Prerequisites:
Basic knowledge of JavaScript, HTML, CSS, Express, ngrok, and MongoDB.
A Twilio account. If you don't have one, sign up at twilio.com/try-twilio.
Step 1: Setting up the project
Create a new directory for your project and navigate into it.
Initialize a new Node.js project using the following command:
npm init -yInstall the required dependencies:
npm install express body-parser twilio mongodb
- Create the following project structure:
- /public
  - index.html
  - style.css
- /server
  - server.js
Step 2: Setting up the server
In the
/serverdirectory, create a new file calledserver.js.Import the required modules and set up the Express app:
const express = require('express');
const bodyParser = require('body-parser');
const app = express();
const port = 3000;

app.use(bodyParser.urlencoded({ extended: false }));
app.use(bodyParser.json());

// Start the server
app.listen(port, () => {
  console.log(`Server is running on port ${port}`);
});
Step 3: Setting up the HTML and CSS
In the
/publicdirectory, create a new file calledindex.html.Add the following HTML code to the
index.htmlfile:
<!DOCTYPE html>
<html>
<head>
  <title>Twilio Messaging App</title>
  <link rel="stylesheet" type="text/css" href="style.css">
</head>
<body>
  <h1>Twilio Messaging App</h1>

  <form id="messageForm" action="/send-message" method="POST">
    <label for="phoneNumber">Phone Number:</label>
    <input type="text" id="phoneNumber" name="phoneNumber" required>

    <label for="message">Message:</label>
    <textarea id="message" name="message" required></textarea>

    <button type="submit">Send Message</button>
  </form>

  <div id="responseContainer">
    <h2>Customer Response:</h2>
    <ul id="responseList"></ul>
  </div>

  <script src="script.js"></script>
</body>
</html>
- In the
/publicdirectory, create a new file calledstyle.cssand add the following CSS code:
body {
  font-family: Arial, sans-serif;
}

h1 {
  text-align: center;
}

form {
  margin: 20px auto;
  max-width: 500px;
  padding: 20px;
  border: 1px solid #ccc;
}

textarea {
  height: 100px;
}

#responseContainer {
  max-width: 500px;
  margin: 20px auto;
}

#responseList {
  list-style: none;
  padding: 0;
}
Sure! Here's a comprehensive guide on how to use Twilio with JavaScript, HTML, CSS, Express, ngrok, MongoDB, and Twilio's API to send messages to your customer base for your company and receive and display customer responses.
Prerequisites:
Basic knowledge of JavaScript, HTML, CSS, Express, ngrok, and MongoDB.
A Twilio account. If you don't have one, sign up at twilio.com/try-twilio.
Step 1: Setting up the project
Create a new directory for your project and navigate into it.
Initialize a new Node.js project using the following command:
csharpCopy codenpm init -yInstall the required dependencies:
cssCopy codenpm install express body-parser twilio mongodbCreate the following project structure:
 markdownCopy code- /public
   - index.html
   - style.css
 - /server
   - server.js
Step 2: Setting up the server
In the
/serverdirectory, create a new file calledserver.js.Import the required modules and set up the Express app:
 javascriptCopy codeconst express = require('express');
 const bodyParser = require('body-parser');
 const app = express();
 const port = 3000;

 app.use(bodyParser.urlencoded({ extended: false }));
 app.use(bodyParser.json());

 // Start the server
 app.listen(port, () => {
   console.log(`Server is running on port ${port}`);
 });
Step 3: Setting up the HTML and CSS
In the
/publicdirectory, create a new file calledindex.html.Add the following HTML code to the
index.htmlfile:<!DOCTYPE html> <html> <head> <title>Twilio Messaging App</title> <link rel="stylesheet" type="text/css" href="style.css" /> </head> <body> <header class="header"> <img src="twilio_logo.png" alt="Twilio Logo" class="logo" /> <h1 class="title">Twilio Messaging App</h1> </header> <main class="container"> <form id="messageForm" action="/send-message" method="POST"> <label for="phoneNumber">Phone Number:</label> <input type="text" id="phoneNumber" name="phoneNumber" required /> <label for="message">Message:</label> <textarea id="message" name="message" required></textarea> <button type="submit" class="send-button">Send Message</button> </form> <div id="responseContainer"> <h2>Customer Response:</h2> <ul id="responseList" class="response-list"></ul> </div> </main> <script src="script.js"></script> </body> </html>In the
/publicdirectory, create a new file calledstyle.cssand add the following CSS code:body { font-family: 'Arial', sans-serif; background-color: #F7F9FA; margin: 0; padding: 0; } .header { background-color: #F22F46; display: flex; align-items: center; padding: 20px; } .logo { width: 40px; height: 40px; margin-right: 10px; } .title { color: #FFFFFF; font-size: 24px; } .container { max-width: 600px; margin: 20px auto; padding: 20px; background-color: #FFFFFF; border-radius: 4px; box-shadow: 0 2px 4px rgba(0, 0, 0, 0.1); } form { margin-bottom: 20px; } label { font-size: 16px; font-weight: bold; display: block; margin-bottom: 5px; } input[type="text"], textarea { width: 100%; padding: 10px; font-size: 14px; border: 1px solid #DDDDDD; border-radius: 4px; margin-bottom: 10px; } button { background-color: #F22F46; color: #FFFFFF; border: none; padding: 10px 20px; font-size: 16px; border-radius: 4px; cursor: pointer; } .button:hover { background-color: #E31C3D; } .response-list { list-style: none; padding: 0; } .response-list li { margin-bottom: 10px; } h2 { font-size: 18px; margin-top: 20px; margin-bottom: 10px; }
Step 4: Sending Messages with Twilio
- In the
/serverdirectory, open theserver.jsfile and add the following code to send messages using Twilio's API:
const accountSid = 'YOUR_TWILIO_ACCOUNT_SID';
const authToken = 'YOUR_TWILIO_AUTH_TOKEN';
const client = require('twilio')(accountSid, authToken);

// POST route to send a message
app.post('/send-message', (req, res) => {
  const { phoneNumber, message } = req.body;

  client.messages
    .create({
      body: message,
      from: 'YOUR_TWILIO_PHONE_NUMBER',
      to: phoneNumber
    })
    .then(message => {
      console.log(`Message sent: ${message.sid}`);
      res.redirect('/');
    })
    .catch(err => {
      console.error(err);
      res.status(500).send('Failed to send message');
    });
});
- Replace
'YOUR_TWILIO_ACCOUNT_SID','YOUR_TWILIO_AUTH_TOKEN', and'YOUR_TWILIO_PHONE_NUMBER'with your actual Twilio credentials and phone number.
Step 5: Receiving and Displaying Customer Responses
In the
/publicdirectory, create a new file calledscript.js.Add the following JavaScript code to
script.jsto handle receiving and displaying customer responses:
const responseList = document.getElementById('responseList');

// Function to display customer response
function displayResponse(response) {
  const listItem = document.createElement('li');
  listItem.innerText = response;
  responseList.appendChild(listItem);
}

// WebSocket connection to receive customer responses
const socket = new WebSocket('ws://localhost:3000/response');

socket.onmessage = event => {
  const response = JSON.parse(event.data);
  displayResponse(response.Body);
};
- Open
server.jsin the/serverdirectory and add the following code to handle customer responses using WebSocket:
const http = require('http');
const server = http.createServer(app);
const { MessagingResponse } = require('twilio').twiml;

// WebSocket connection to receive customer responses
const WebSocket = require('ws');
const wss = new WebSocket.Server({ server, path: '/response' });

wss.on('connection', ws => {
  console.log('WebSocket connected');

  ws.on('message', message => {
    console.log(`Received message: ${message}`);
  });
});

// Twilio webhook endpoint to receive customer responses
app.post('/incoming-message', (req, res) => {
  const twiml = new MessagingResponse();

  twiml.message('Thank you for your response!');

  const response = twiml.toString();
  wss.clients.forEach(client => {
    client.send(response);
  });

  res.writeHead(200, { 'Content-Type': 'text/xml' });
  res.end(response);
});

// Set up the server to listen for WebSocket connections and Twilio webhook
server.listen(port, () => {
  console.log(`Server is running on port ${port}`);
  console.log(`WebSocket server is running on ws://localhost:${port}/response`);
});
Step 6: Ngrok and MongoDB Setup
ngrok http 3000
Copy the ngrok forwarding URL (e.g.,
https://randomstring.ngrok.io).Set up a MongoDB database either locally or using a cloud service. Obtain the connection string.
Open
server.jsin the/serverdirectory and add the following code to connect to MongoDB:
const mongoose = require('mongoose');
const mongoUri = 'YOUR_MONGODB_CONNECTION_STRING';

mongoose.connect(mongoUri, {
  useNewUrlParser: true,
  useUnifiedTopology: true,
  useFindAndModify: false
});

const db = mongoose.connection;

db.on('error', err => {
  console.error('MongoDB connection error:', err);
});

db.once('open', () => {
  console.log('MongoDB connected');
});
- Replace
'YOUR_MONGODB_CONNECTION_STRING'with your actual MongoDB connection string.
Step 7: Finalize and Test
- In the
/serverdirectory, start the server:
node server.js
Access the app in your browser using the ngrok forwarding URL.
Enter a customer's phone number and a message in the form, and click "Send Message".
You should receive the message on the customer's phone.
When the customer replies, the response will be displayed on the webpage.
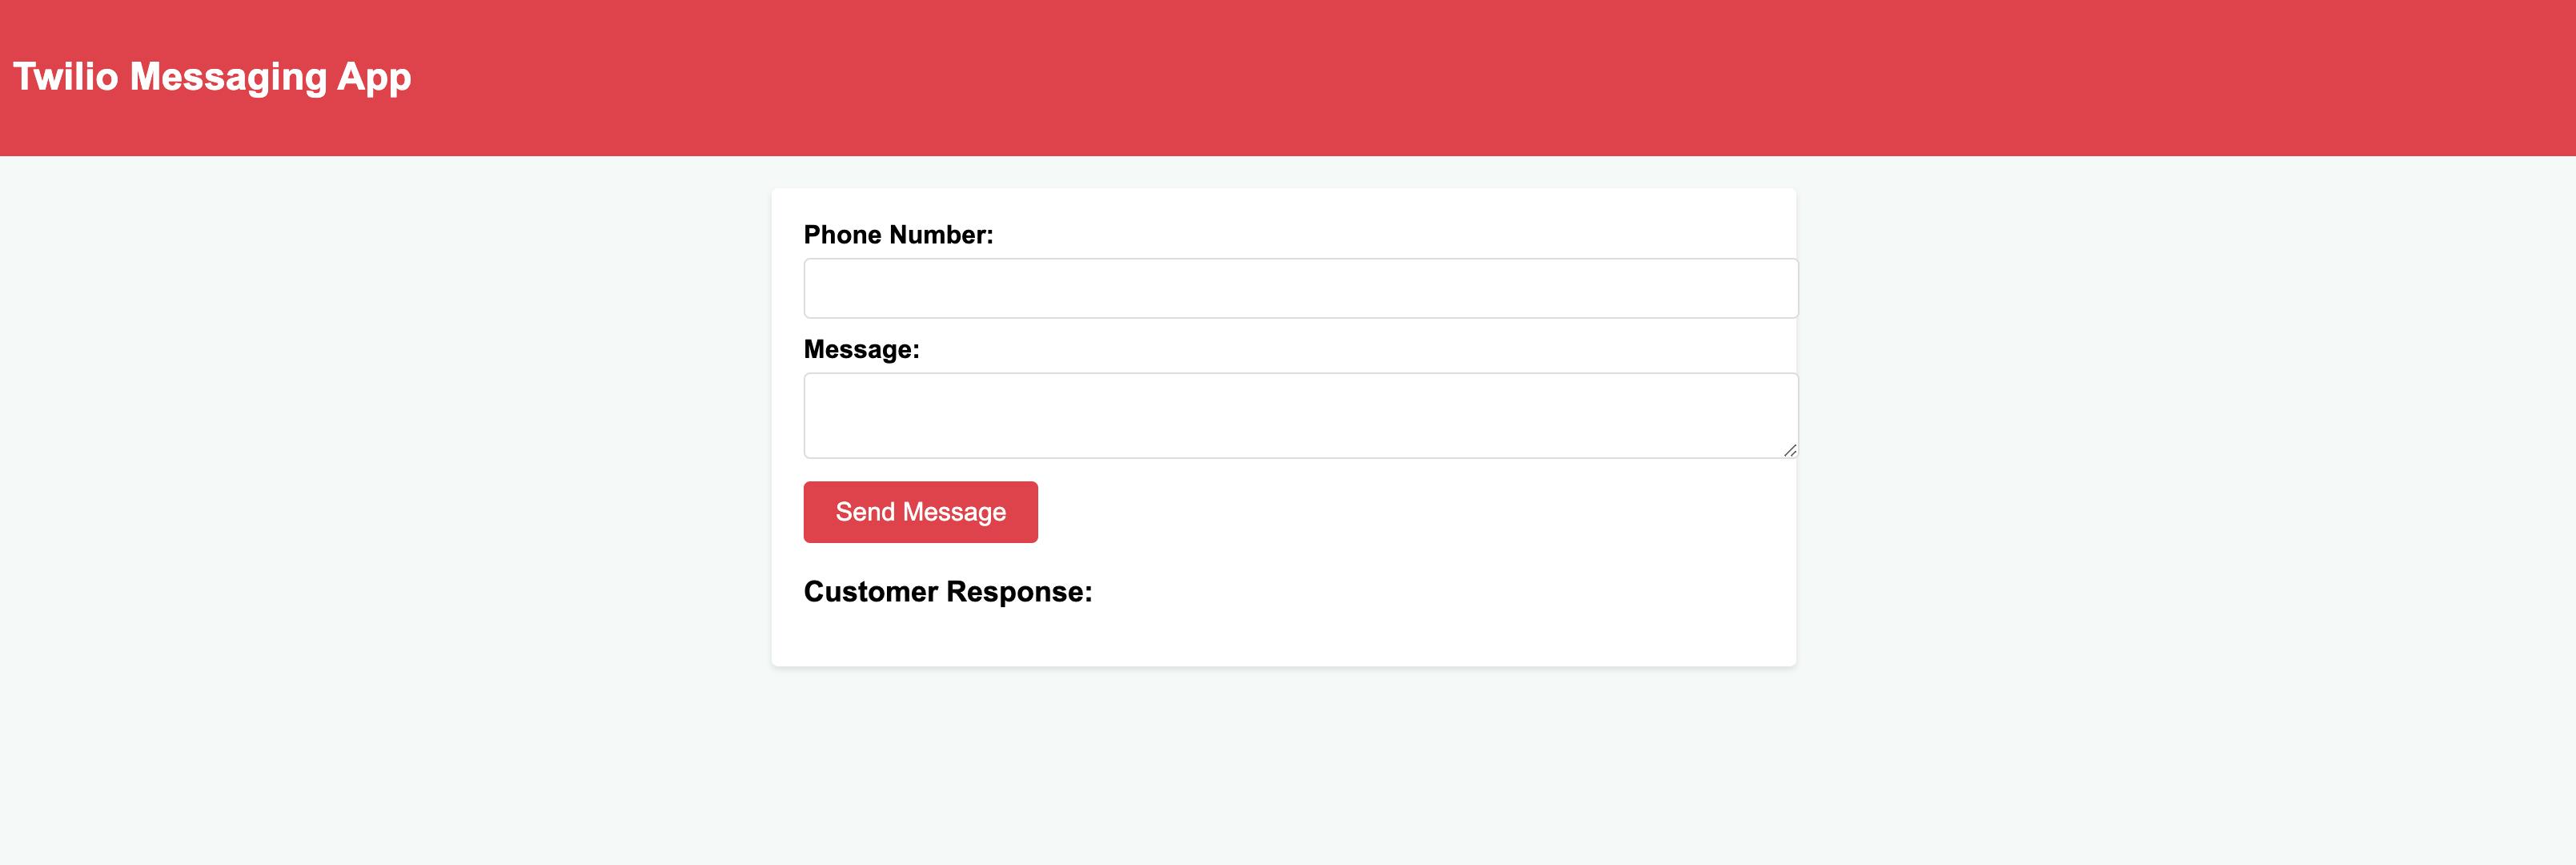
Final Product!
Follow me @the_coding_soup