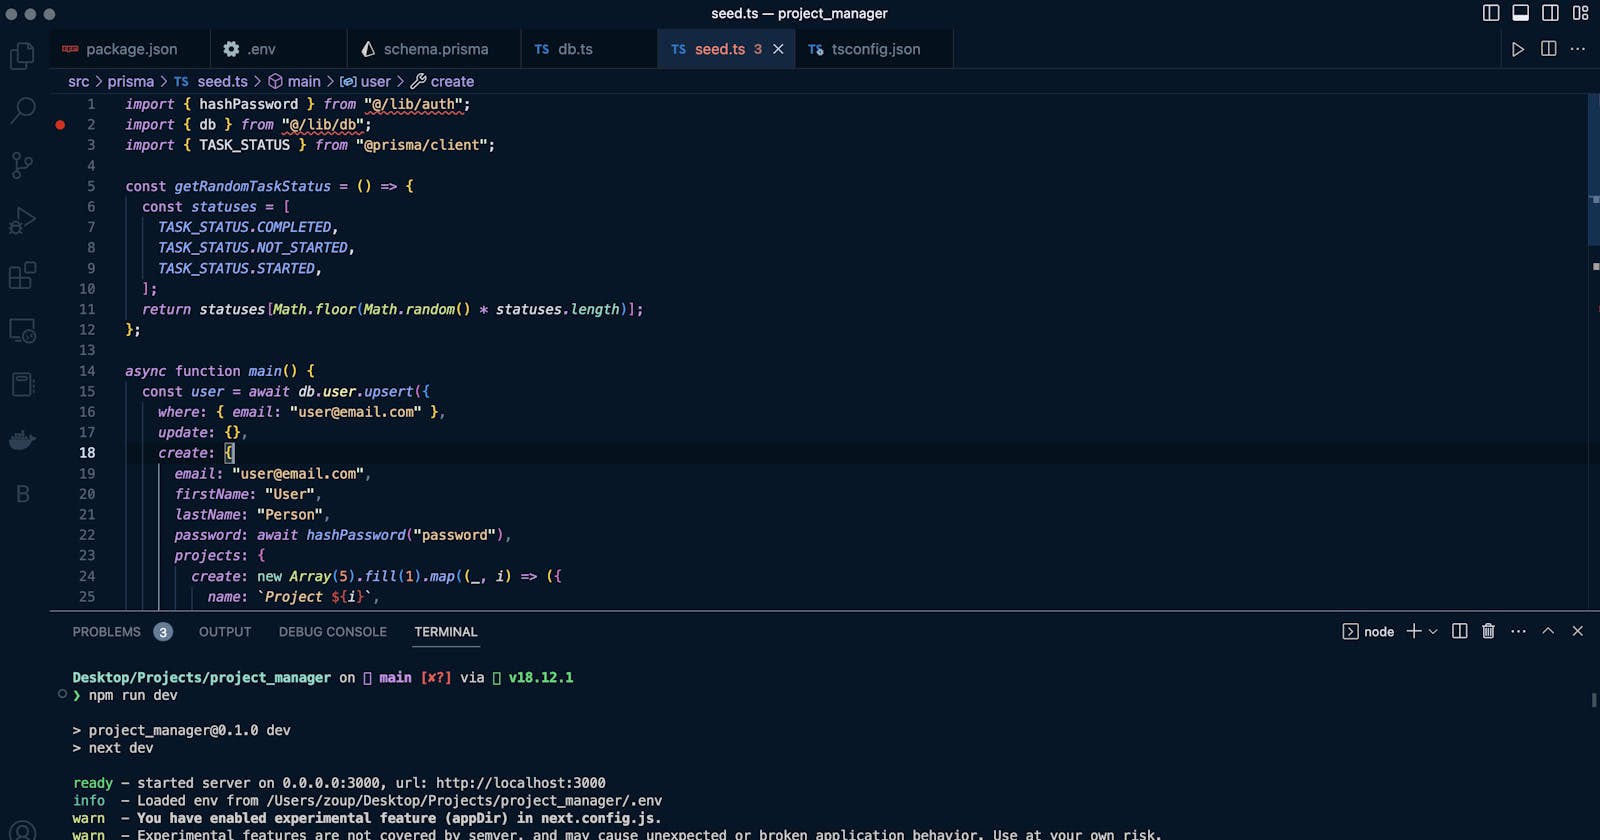
Next.js is a popular open-source framework for building server-side rendered React applications. It provides a fast and flexible development experience with features such as automatic code splitting, server-side rendering, and optimized performance. In this article, we will walk you through the steps involved in creating a project using Next.js.
Step 1: Install Node.js
Before you can start a Next.js project, you need to have Node.js installed on your computer. Node.js is available for download from the official Node.js website (nodejs.org). Download and install the version of Node.js that is appropriate for your operating system.
Step 2: Install Next.js
Once you have Node.js installed, you can install Next.js using the npm (Node Package Manager) command. Open a terminal or command prompt and enter the following command:
npm install next react react-dom
This will install Next.js, React, and ReactDOM as dependencies for your project.
Step 3: Create a new project directory
Now that you have Next.js installed, you can create a new project directory for your Next.js project. This is where you will store all of the files and folders that make up your project.
To create a new project directory, open a terminal or command prompt and navigate to the directory where you want to create the project directory. Then, enter the following command:
mkdir my-next-project
This will create a new directory called my-next-project.
Step 4: Initialize the project
Next, you need to initialize the project using the npm init -y command. This will create a package.json file in your project directory, which contains metadata about your project and a list of all of the dependencies that your project relies on.
To initialize the project, navigate to the project directory in your terminal or command prompt and enter the following command:
npm init -y
This will create a package.json file with default settings.
Step 5: Create pages
In Next.js, pages are the main building blocks of your application. Each page corresponds to a URL and is responsible for rendering the content that the user sees. To create a new page, create a file in the pages directory of your project directory with a .js extension.
For example, to create a homepage for your application, create a file called index.js in the pages directory. Then, add the following code to the file:
function HomePage() {
  return <h1>Hello, Next.js!</h1>;
}

export default HomePage;
This code defines a React component called HomePage that renders a simple heading element.
Step 6: Start the development server
Now that you have created a page, you can start the Next.js development server. This will allow you to view your application in a web browser and make changes to your code in real-time.
To start the development server, navigate to your project directory in your terminal or command prompt and enter the following command:
npm run dev
This will start the development server and open a new tab in your web browser with the URL http://localhost:3000. You should see the heading "Hello, Next.js!" displayed on the page.
Step 7: Add more pages and components
Once you have created your first page, you can add more pages and components to your application. Pages can be created by adding new files to the pages directory, and components can be created by adding new files to the components directory.
For example, to create a new page called about, create a file called about.js in the pages directory with the following code:
function AboutPage() {
  return
    <h1>About Us</h1>
    <p>We are a team of developers who love building web applications.</p>
  );
}

export default AboutPage;
Then, to link to the new about page from the index page, update the HomePage component in index.js as follows:
import Link from 'next/link';

function HomePage() {
  return (
    <div>
      <h1>Hello, Next.js!</h1>
      <Link href="/about"><a>About Us</a></Link>
    </div>
  );
}

export default HomePage;
This code adds a link to the about page to the homepage.
Step 8: Deploy your application
Once you have finished building your Next.js application, you can deploy it to a web server so that it can be accessed by users on the internet. There are many different ways to deploy a Next.js application, but one of the easiest is to use a platform such as Vercel (vercel.com).
To deploy your application to Vercel, follow these steps:
Sign up for a Vercel account.
Install the Vercel CLI by running the following command in your terminal or command prompt:
npm i -g vercel.Navigate to your project directory and run the following command:
vercel.Follow the prompts to deploy your application.
Once your application is deployed, you can access it using the URL provided by Vercel.
Conclusion
Next.js is a powerful and flexible framework for building server-side rendered React applications. By following the steps outlined in this article, you can quickly and easily create a new Next.js project and start building your own web applications. With its extensive set of features and easy deployment options, Next.js is a great choice for developers who want to build fast and scalable web applications.

